Getting Started
Get up and running with Quetzly Validator in just a few minutes. This guide will walk you through taking your first steps with the application.
Installation
Follow the steps in the Installation Instructions to download and install Quetzly Validator on your system.
First Launch
When you first launch Quetzly Validator, you'll see the main interface with four primary sections:
- API - For testing API endpoints
- History - View your request history
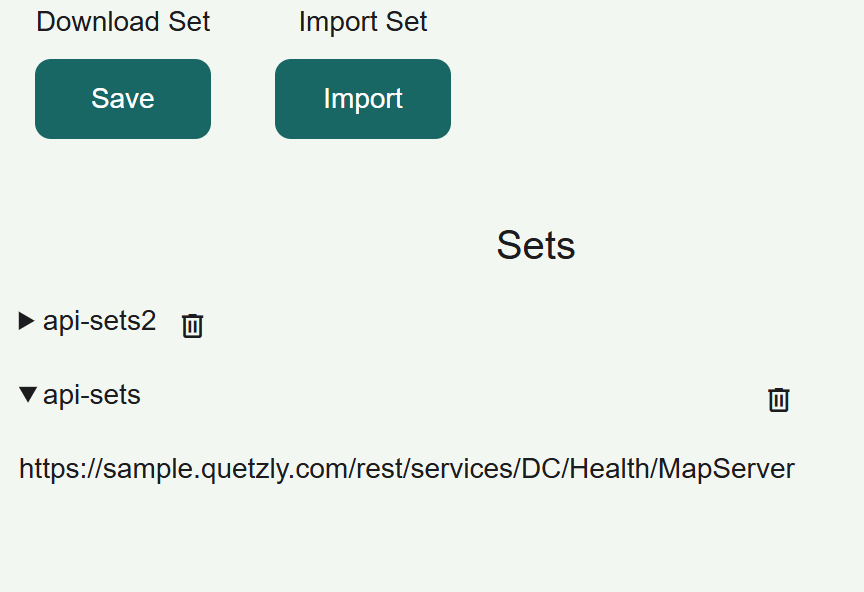
- Sets - Manage saved requests
- Monitor - Set up endpoint monitoring
Interface Overview
Navigation Bar
The left sidebar contains four main sections:
 API: Main testing interface
 History: Request history
 Sets: Saved grouping of requests
 Monitor: Endpoint monitoring
Main Panel
The main area adapts based on your current section:
- Request Builder: Configure and send API requests
- Response Viewer: Inspect API responses
- Map Viewer: Visualize geospatial data
- Monitoring Dashboard: Track endpoint status
Quick Start Tutorial
1. Make Your First Request
- Click on the API section in the sidebar
- Select a request type (GET, POST, etc.)
- Choose a service type (JSON, WMS, WFS, etc.)
- Enter a URL in the request field
- Click Send to execute the request

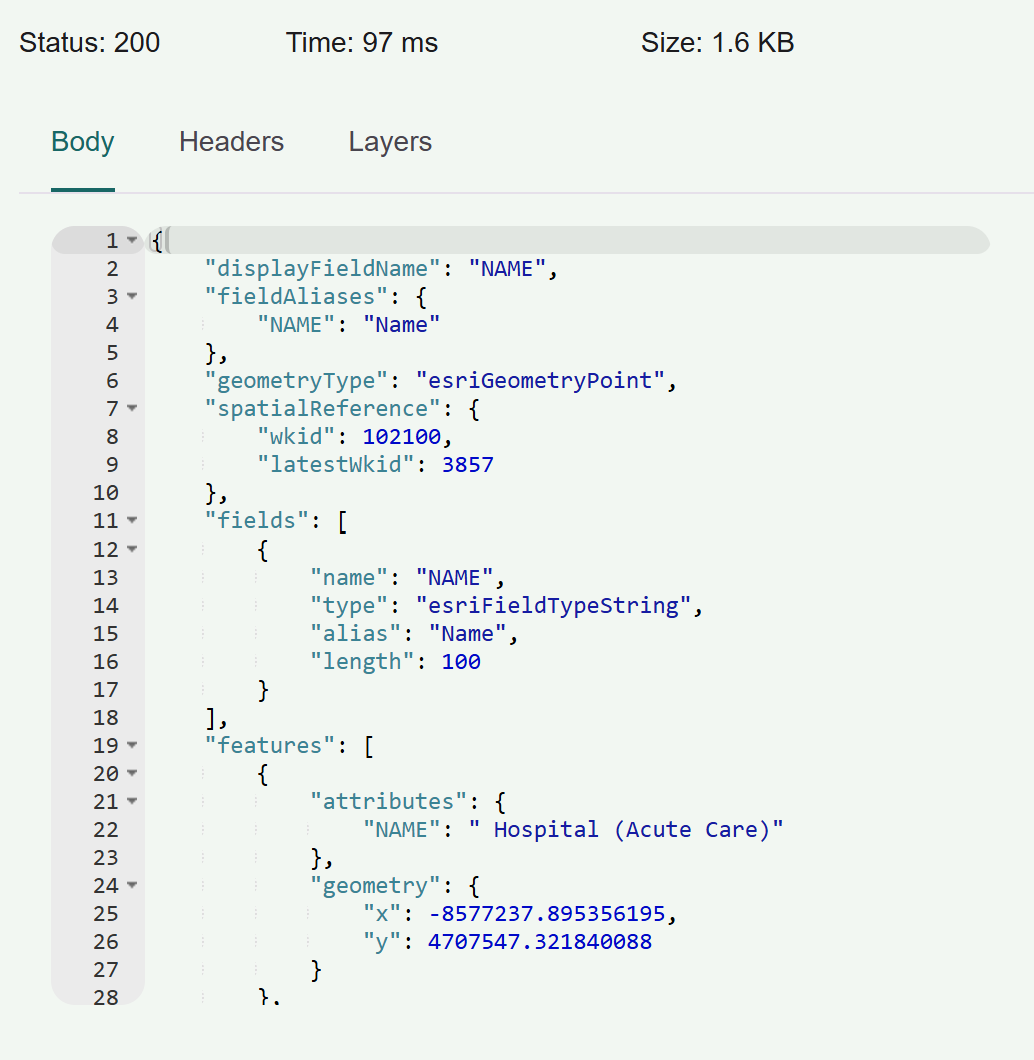
2. View the Response
- Check the Status, Time, and Size in the response section
- Switch between Body, Headers, and Layers tabs
- For map services, layers will be automatically detected
3. Add to Map (For Geospatial Services)
- If your request returns spatial data, you'll see available layers
- Select layers to add them to the map viewer
- Use the map controls to pan, zoom, and inspect features

4. Save Your Work
- Use the Sets section to save frequently used requests
- Create collections of related API endpoints
- Export your sets to share with team members